
Is it really that good? is the question I intend to answer from my point of view in this blog. Lego set 75060 depicting Slave I in UCS style has been jubilated on every Lego related forum, in every review. So, conscious of these reviews and opinions, is the build still going to be great? Can we believe the hype? If you're like me, you already know my answer because the first thing you did when clicking on this blog is scroll down to read my conclusion. For those who are not like me and want to read the whole article, I tried to write down my thoughts and feelings (immediately) after each step of the build. I won't tell all surprises and advanced building methods I encountered, as that would ruin the fun for you. This way I had to actively think about the build along the way. Some aspects of this blog will transcend the nature of a review, such as using an alternative to the set's stickers and my thoughts on future demand of this Lego set and its parts.
REVIEW: SET DETAILS
Lego set: 75060
Name: Slave I
Theme: Star Wars
Parts: 1996
Price: $199.99
Looking at the value of this set, at first glance it feels better priced than the 75095 Tie Fighter, a comparable Ultimate Collector Series model. But let's have a closer look, first at the pricing in the Netherlands. Here the Tie Fighter is priced €229.99 while the Slave I's MSRP is €199.99. While the Tie Fighter is 30 euros more expensive, it has 311 parts less than the Slave I. So unless you're a great Tie Fighter fan, if you live in the Netherlands and had to choose between these two UCS's, from a cost per piece-perspective the choice is easy: Slave I. But you shouldn't just look at piece count, other factors are also important (e.g. the Tie Fighter has lots of large plates).
In the US, both UCS sets cost $199.99. The cost per piece for the Slave I is $0.10. With quite a few large and special pieces (which will be discussed later), this price is in principle good for a licensed set. And don't forget that there are 4 minifigures in this set.
BOX CONTENTS
There are 13 build sections, some consisting of more than one bag. Within the larger bags you'll find smaller bags containing small parts. The beautiful canopy and black info plate do not come bagged.
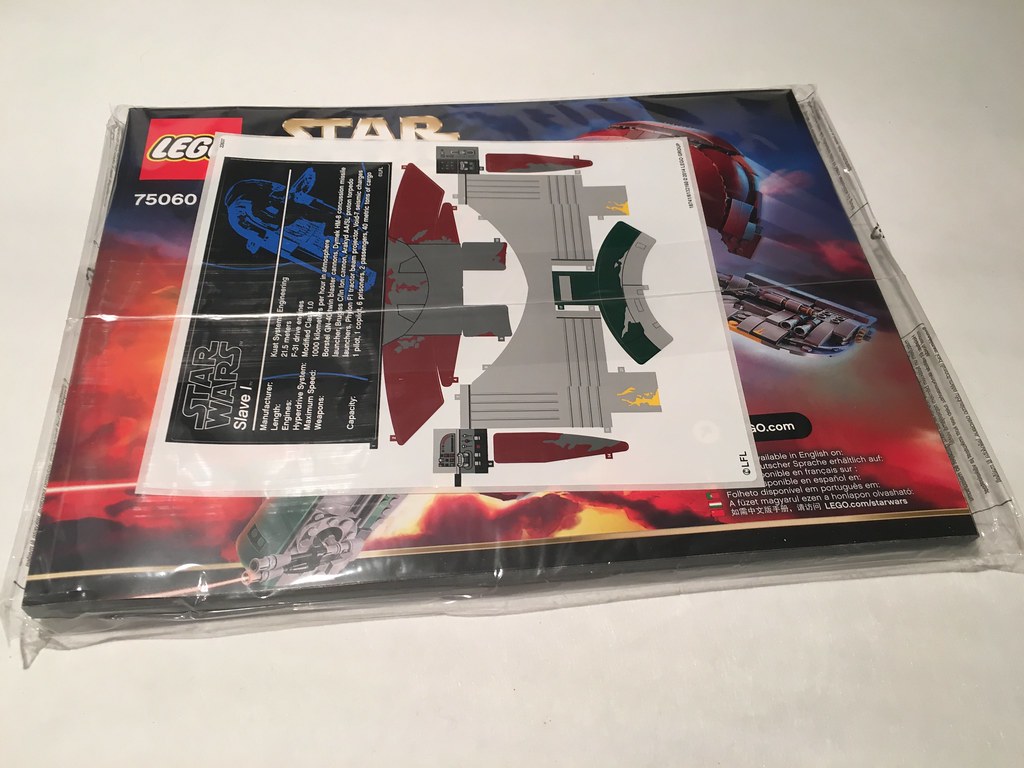
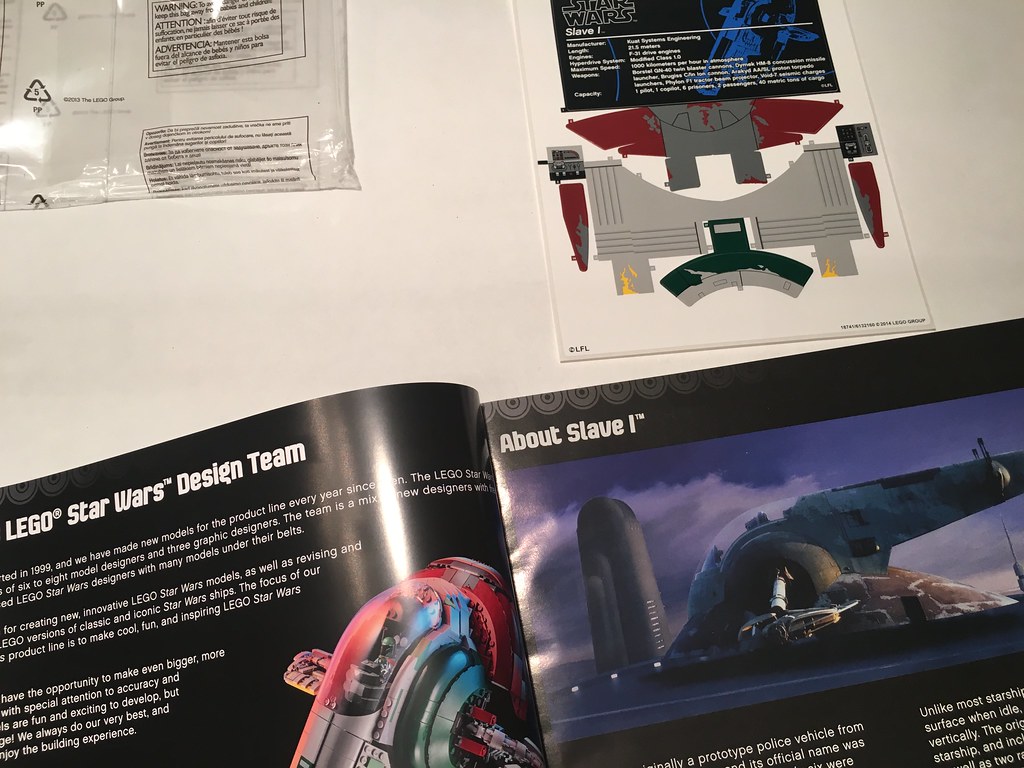
Instruction manual plus sticker sheet:
The instruction book contains some nice info on the 'real' ship, its design, its history and the Lego design. In that it resembles the booklets the Lego Architecture fans have gotten used to. There's even an interview with designer Hans Burkhard Schlömer about developing the model. Due to copyright reasons (and to give you a taste for more) I'll only show you a glimpse.
THE BUILD
STICKER SHEET
The first thing you'll have to decide is what to do with the stickers (no less than 23! Didn't expect they were so many just by looking at the sheet). You have at least four options:
- Don't use the stickers.
- Apply them. Your set will look great but it will depreciate. If you want to sell it in the future, it's better to sell it with an intact sticker sheet. Furthermore, because of the lack of quality of these modern paper-stickers Lego produces, before too long the stickers will peel and/or crumble. This process cannot be undone, the stickers cannot be restored.
- Buy an original sticker sheet, e.g. on Bricklink. I usually do this when building larger / rarer sets, but 75060 sticker sheets are too expensive (for my taste) already. In Europe I can find a few for 12 euros a piece + shipping. In the US there's a Bricklinker who offers them for 10 bucks + shipping.
- Buy a reproduction sheet, keep the original. There are specialized companies who make these sheets in rather good quality. Make sure you have the reproduction sheet at home when starting the build.
- Reproduce the stickers yourself.
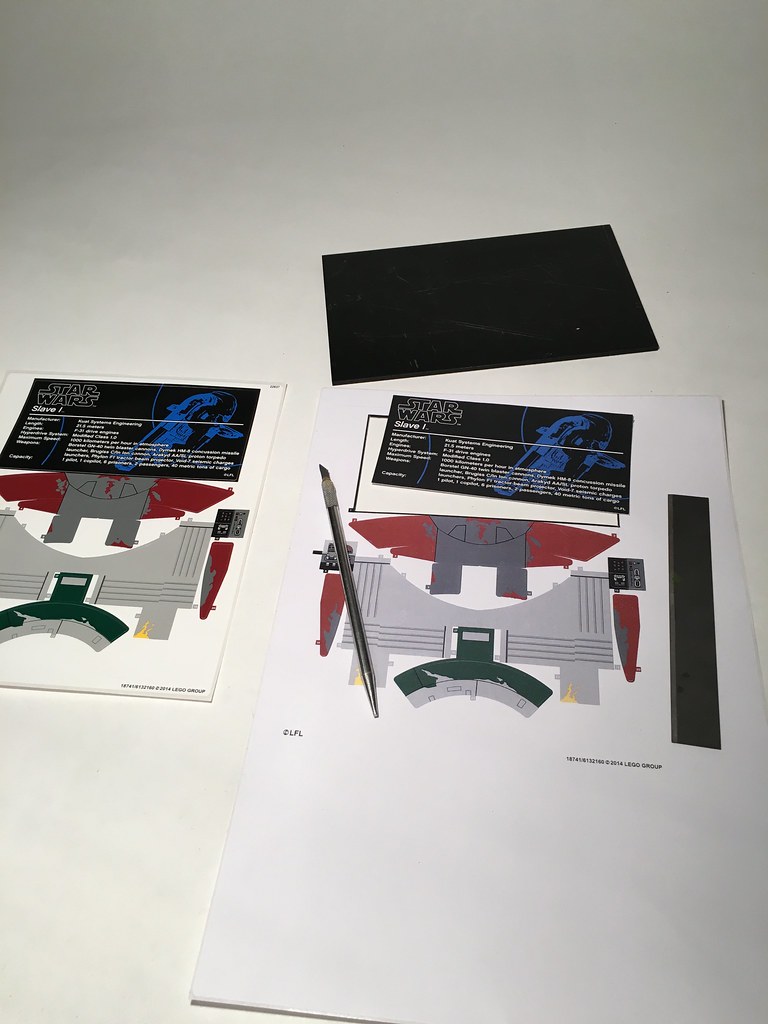
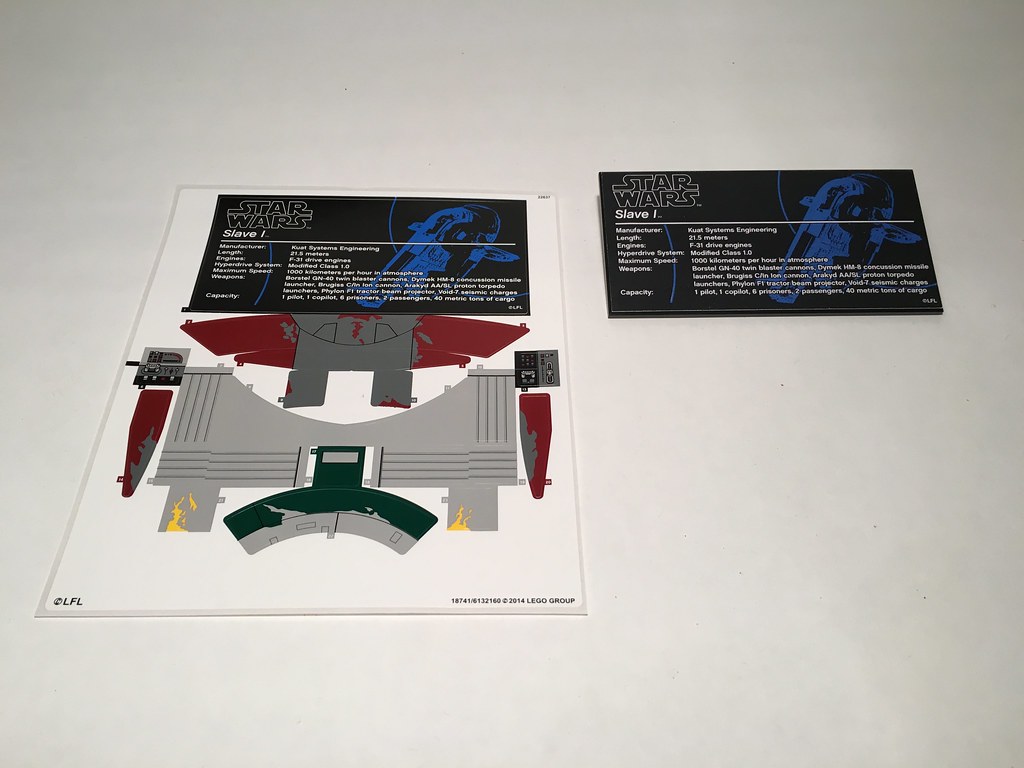
I chose 5. Just copy the sticker sheet on a A4 or letter format white sticker sheet. You can buy those in office stores. After printing, you can 'laminate' the newly made sheet by applying a transparent glossy plastic sticky sheet. Forgot that step myself, unfortunately, so on the pics you'll see matte stickers. 'Laminating' serves to give the same glossy shine as the original stickers, as well as to protect the pigments. Anyway, after (optional) 'laminating' you can simply cut out the stickers using a ruler, sharp knife and hard cutting base (cutting mat or board). For curved cuts, try to use a cup as template. The result: Not perfect, but to me it's a good alternative to using the valuable sticker sheet.
Here is the result (left: Original sticker sheet, right: The plate with reproduction sticker attached):
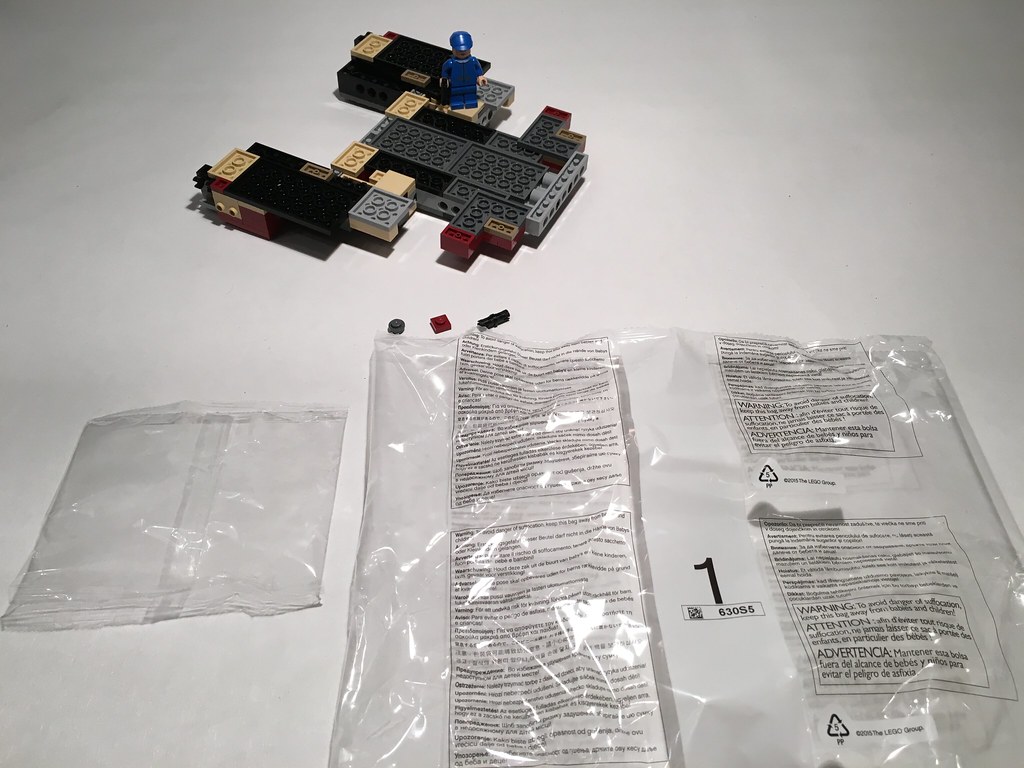
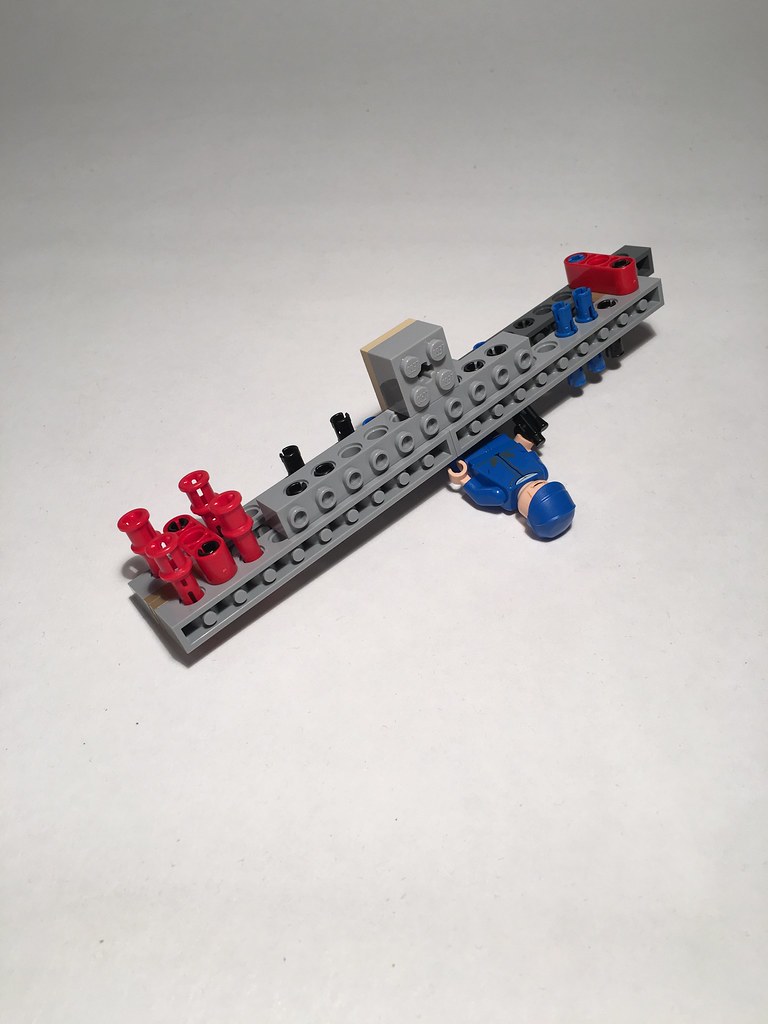
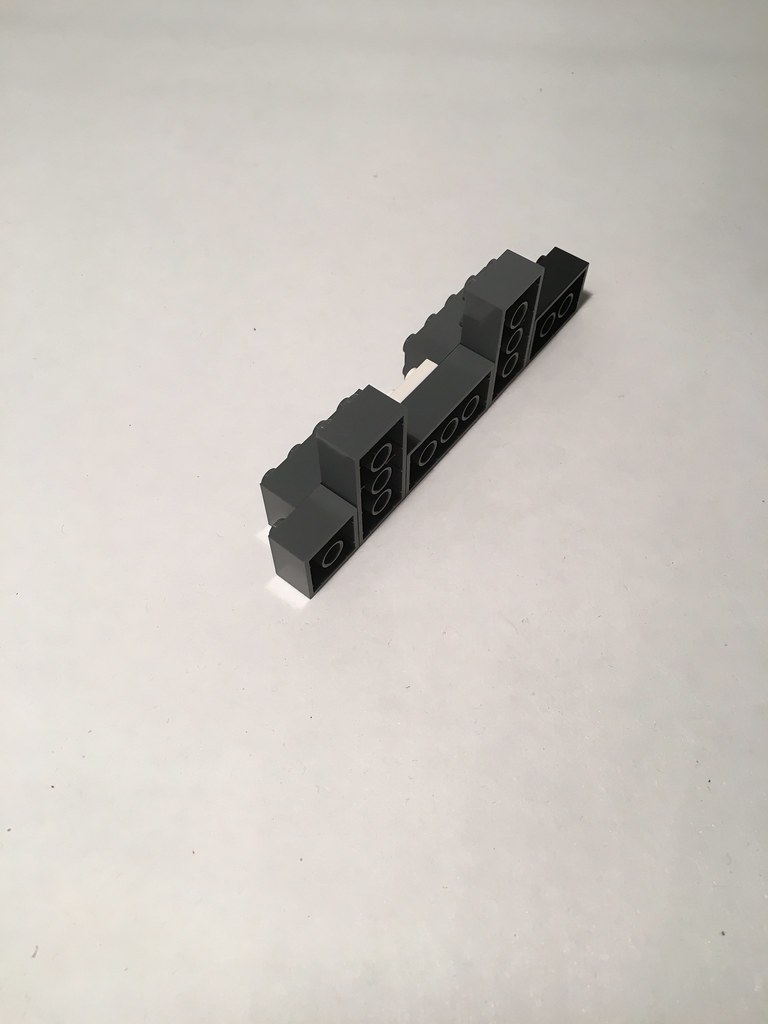
Bag 1: Opening bag 1 I thought to myself "will it be really that good?" Everyone seems to be full of praise as to building this set. Is everyone simply repeating what others say? Let's find out if the build is as good as the end result looks. The start (Slave I's base) doesn’t contain too many surprises. I take note that several 2-wide-plates only rest on 1-wide plates or bricks. The result isn’t flimsy though. On the following pictures you'll see the build status after each step, plus the bags used, plus spare parts, plus a minifig completely unnecessarily posing in a completely random manner. I included that for those who are to any extent sensitive to this obscure playfulness used in all Lego reviews.
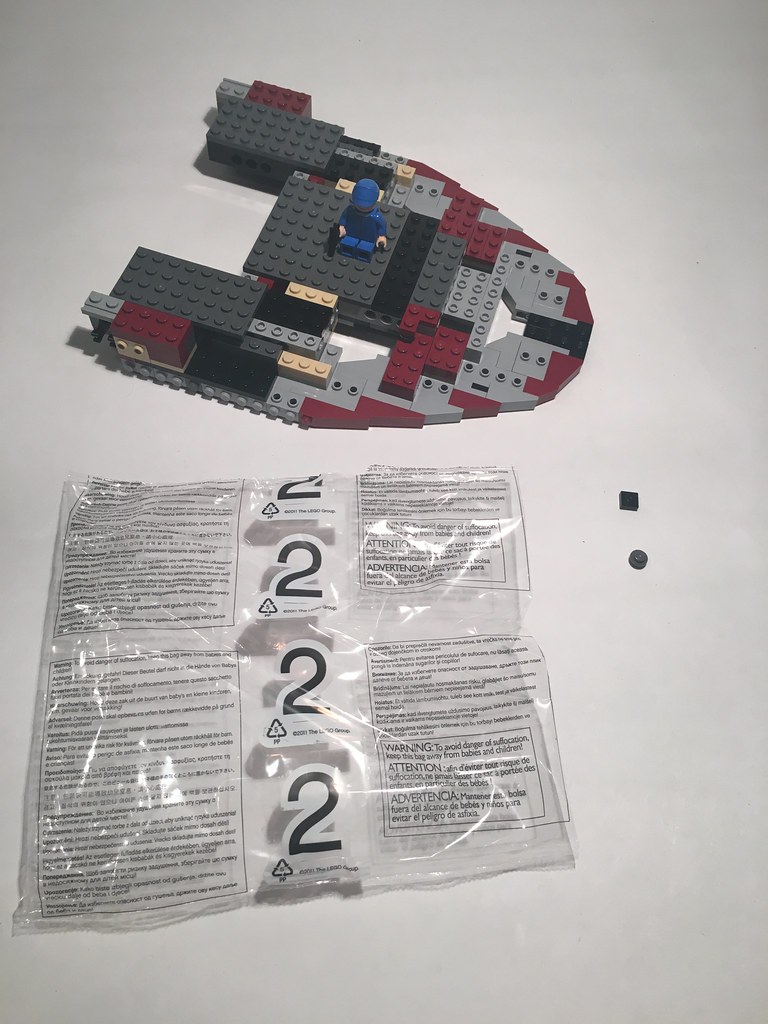
Bag 2: Building the contents of (small) bag #2 brings a smile to my face. Diagonally extended… extended still… verticality brought horizontal, horizontality connected sideways... this is what advanced Lego building is all about! The second half of this sub-build is symmetrical to the first half, so I let my girlfriend have a go… she was equally amused.
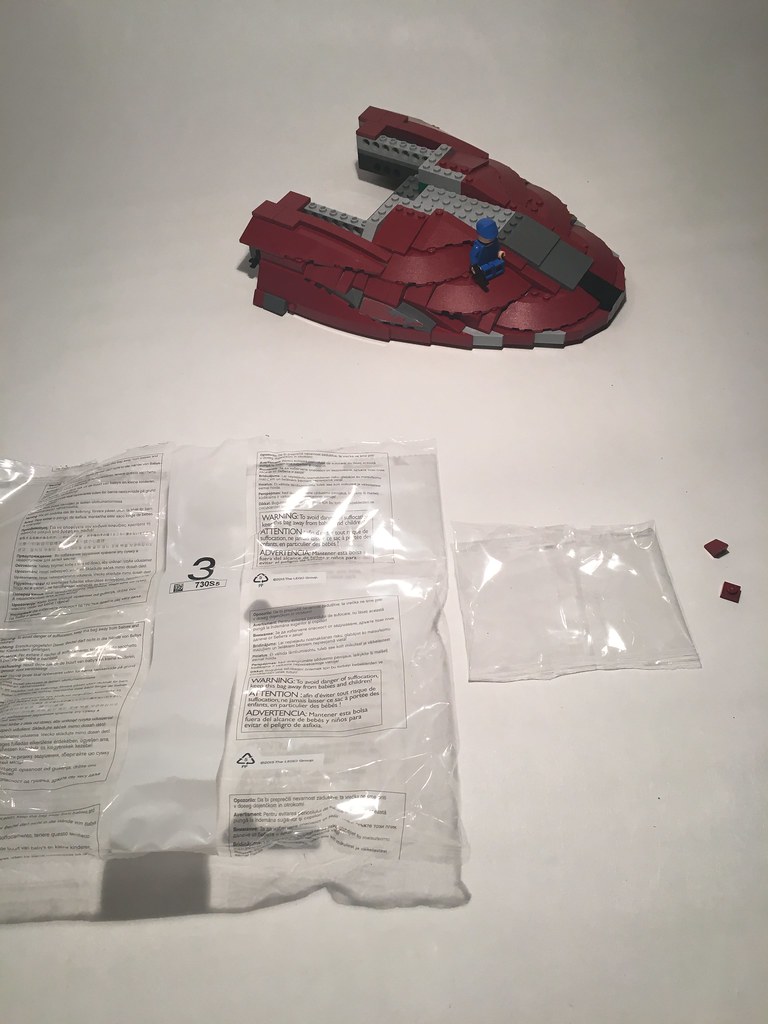
Bag 3: This nicely shows the techniques to get the smooth sloped red base in its designated form. The build stays enjoyable.
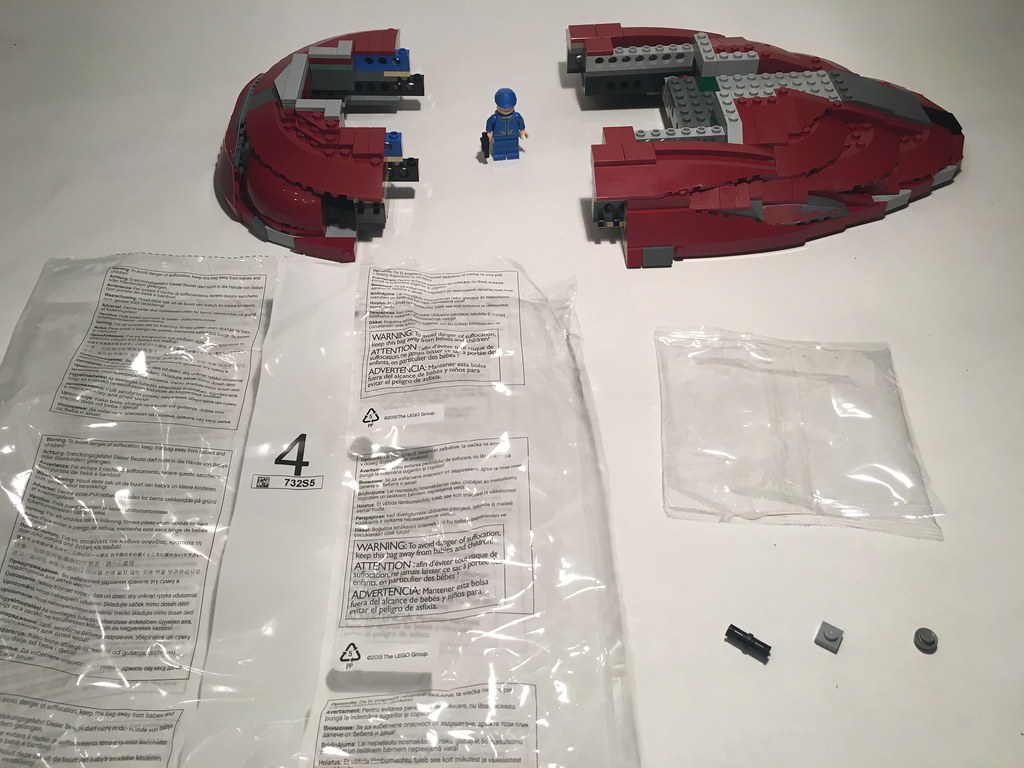
Bag 4: This deals with the ‘top’ or ‘back’ side of the base. Great ‘ah!’-moment here. Some stickers have to be applied in this step.
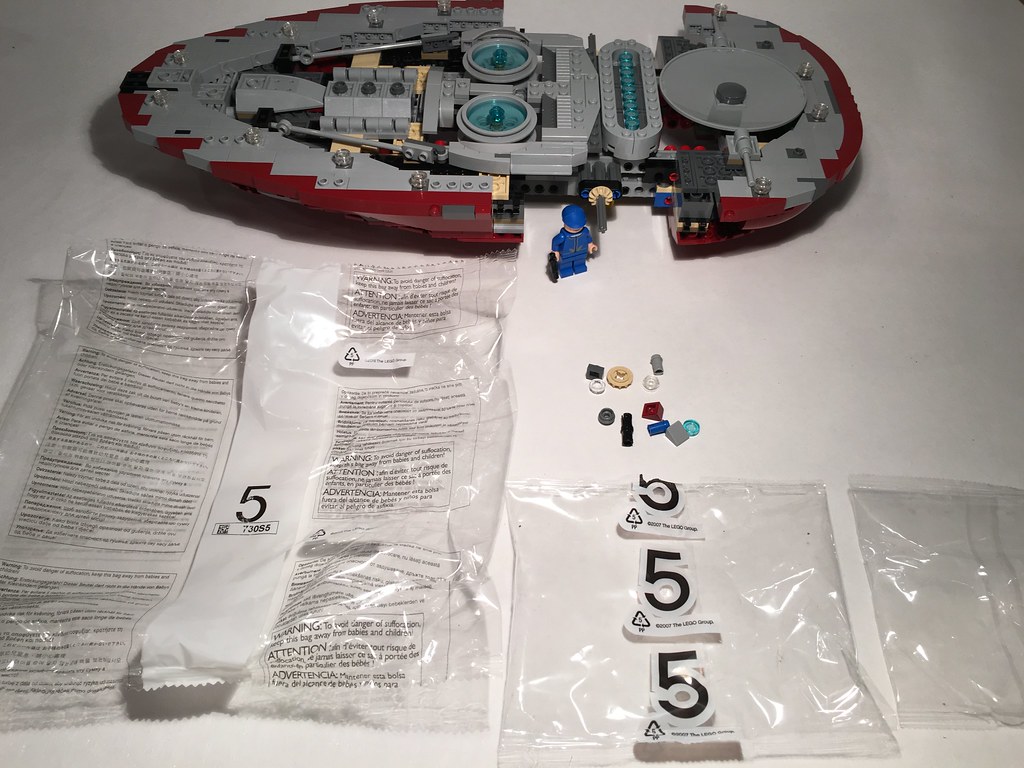
Bags 5: Starting these, the nature of the build changes dramatically. All you’ll see is technic bricks, pins, connectors, linkages, plates etc.: Building the connection section between aft and for bases.
As with a good film script, the build process never loses pace, never gets boring. Some interesting building techniques are demonstrated while the underside is polished and finalized.
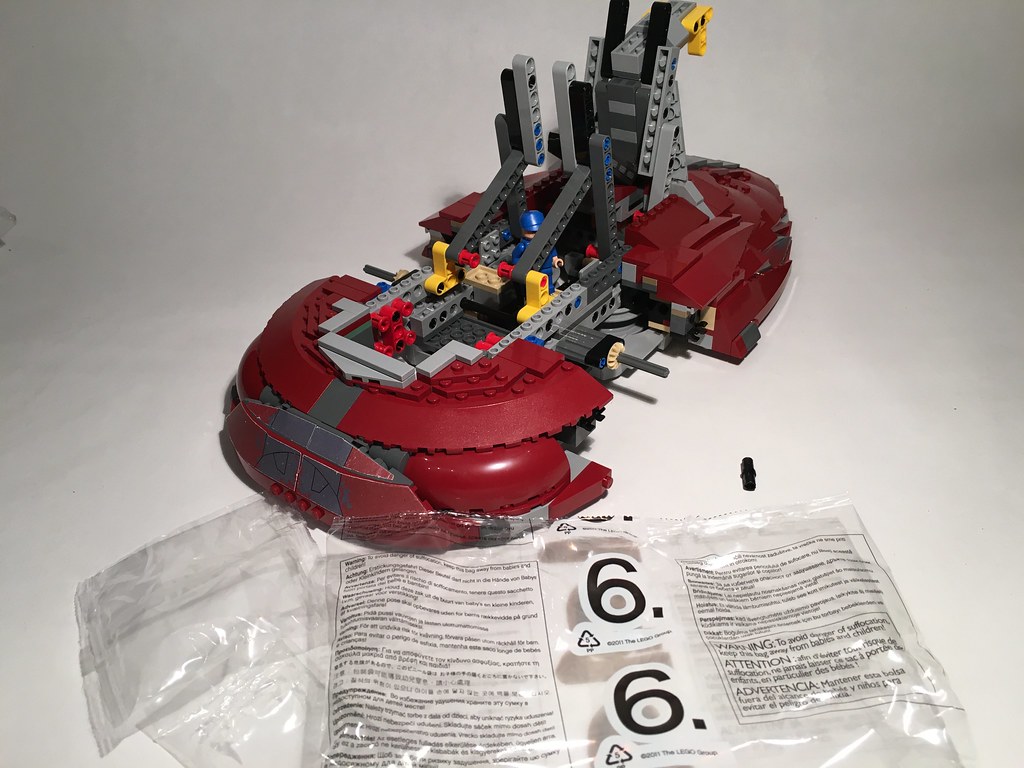
Bag 6: Continuing the Lego Technic exercise, bag 6 introduces us to (two-faced) Han Solo (including a beautifully moulded carbonite block). Work is started on the interior construction, ending with another ‘aha’-moment. Lovely. And.. this thing is getting heavy.
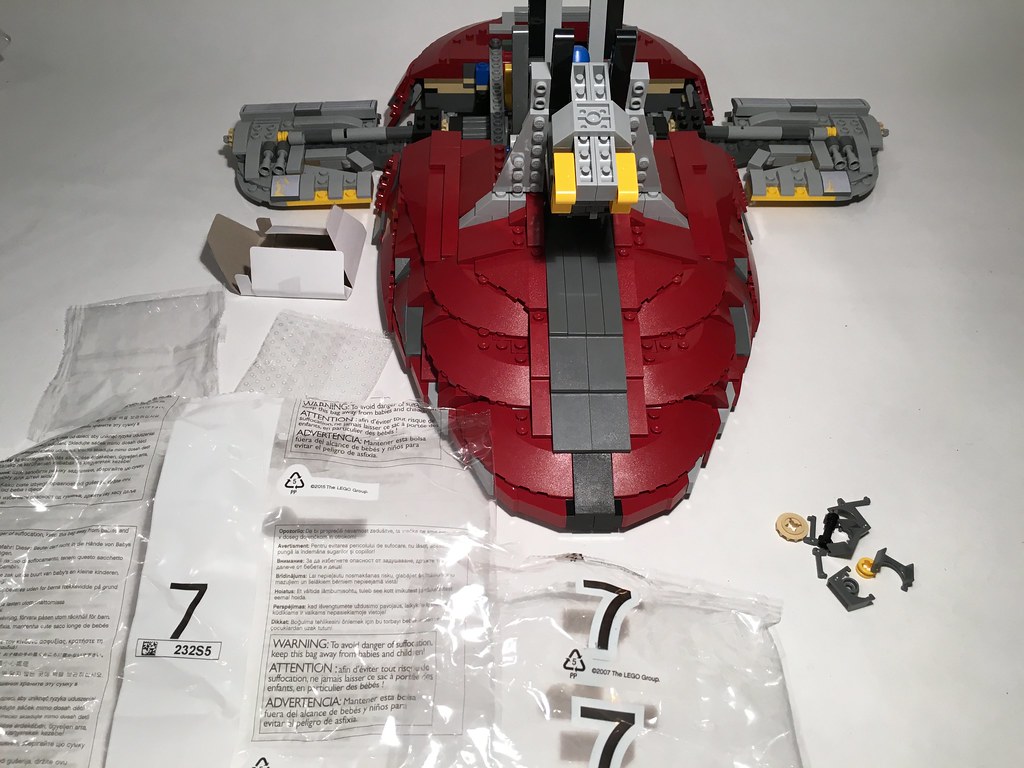
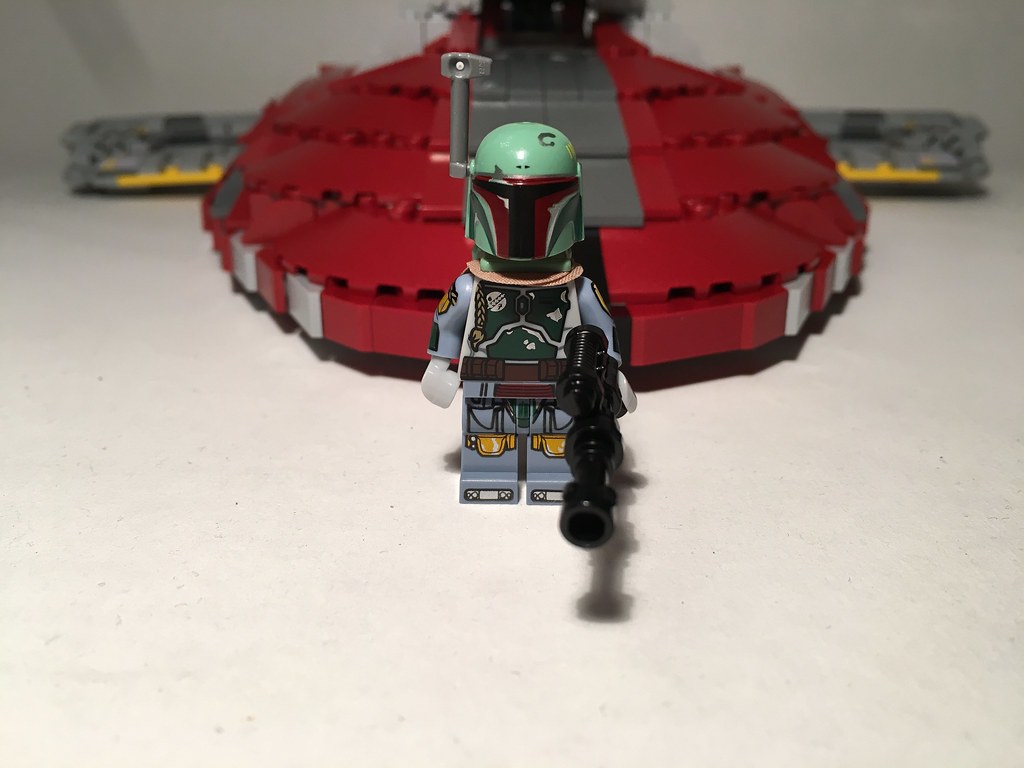
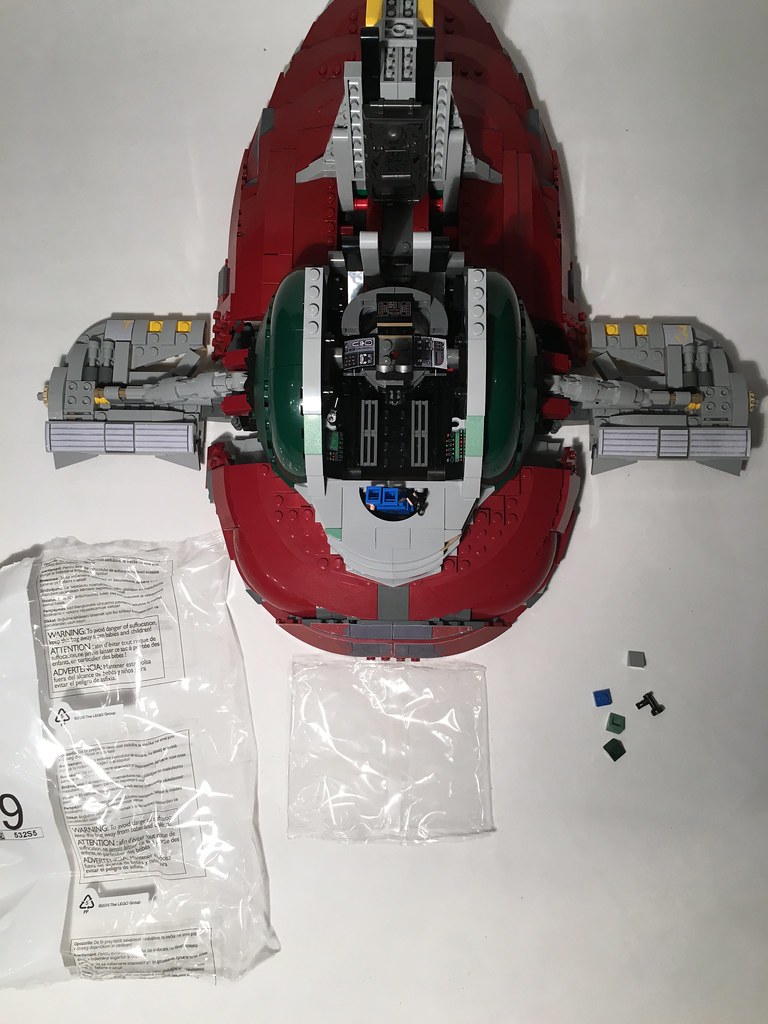
Bags 7: This is really 4 plastic bags and 1 small thick paper box. I recommend using a sharp knife to cut the tapes of the box if you're super-tidy and want to keep it in good shape. This step #7 brings us a very detailed Boba Fett-figure as well as both wings. If Lego wanted to make a set like this even better than it is now, one thing to mind would be the build order. Building two symmetrical wings in a row makes for a slightly repetitive experience. Why not begin the build (bag 1) with one wing and build the other (bag 7) now? Less logical but more fun. Anyway, the wings add to the surface of this vehicle. It's starting to look massive. To continue the fanboy-speech, the gravitation-driven automatic wing repositioning is very nicely done. Not sure what all the spare parts are for though (4x part 17-01, not used in the build).
Boba Fett:
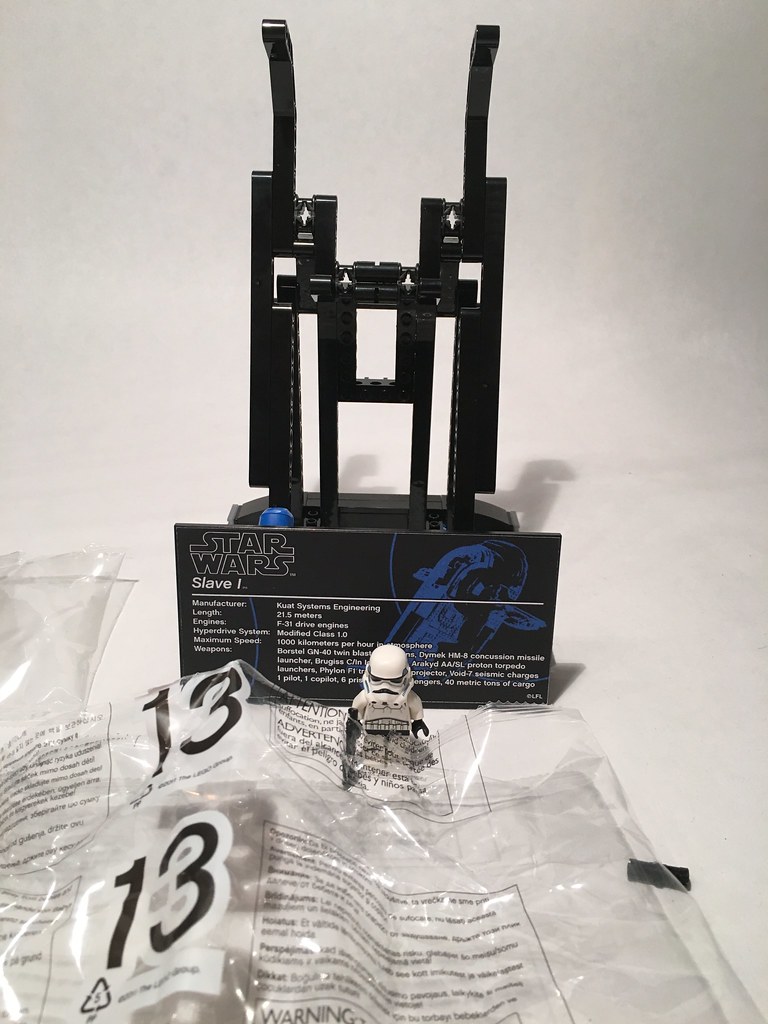
Bag 13: For me now was the time to build the stand. Probably the least exciting part of set 75060, I like to save the best part till the end. Building the stand wasn't all too bad I guess... plus you get a storm trooper in this bag (probably as a surprise for those builders who thought they only had the stand to put together).
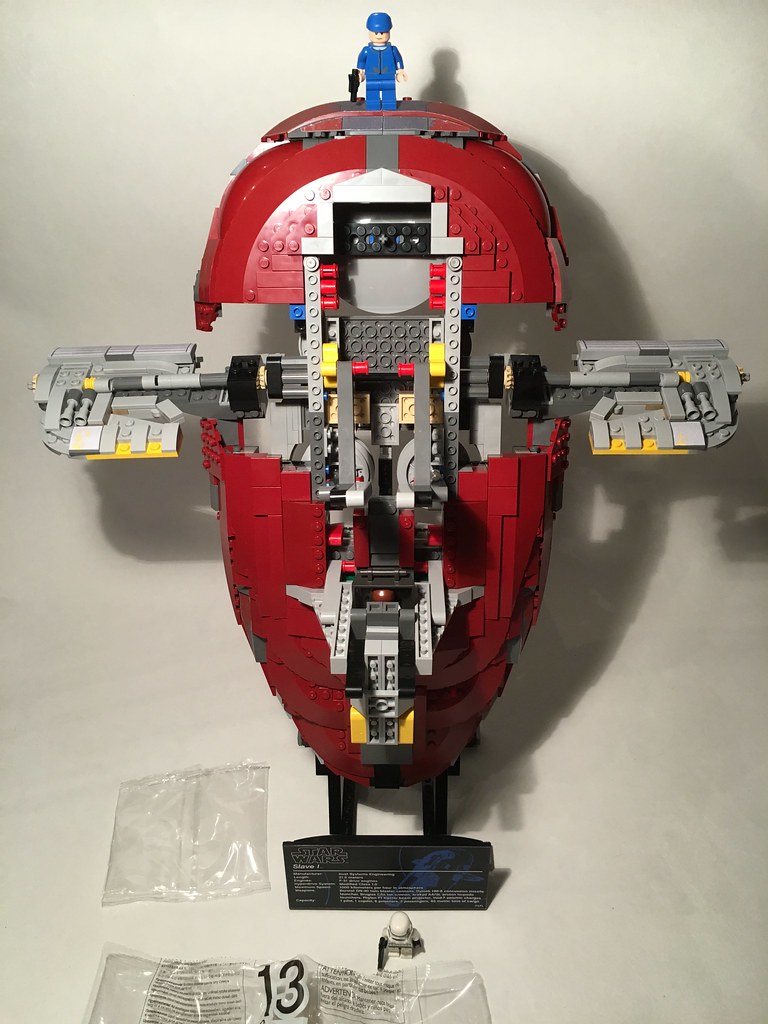
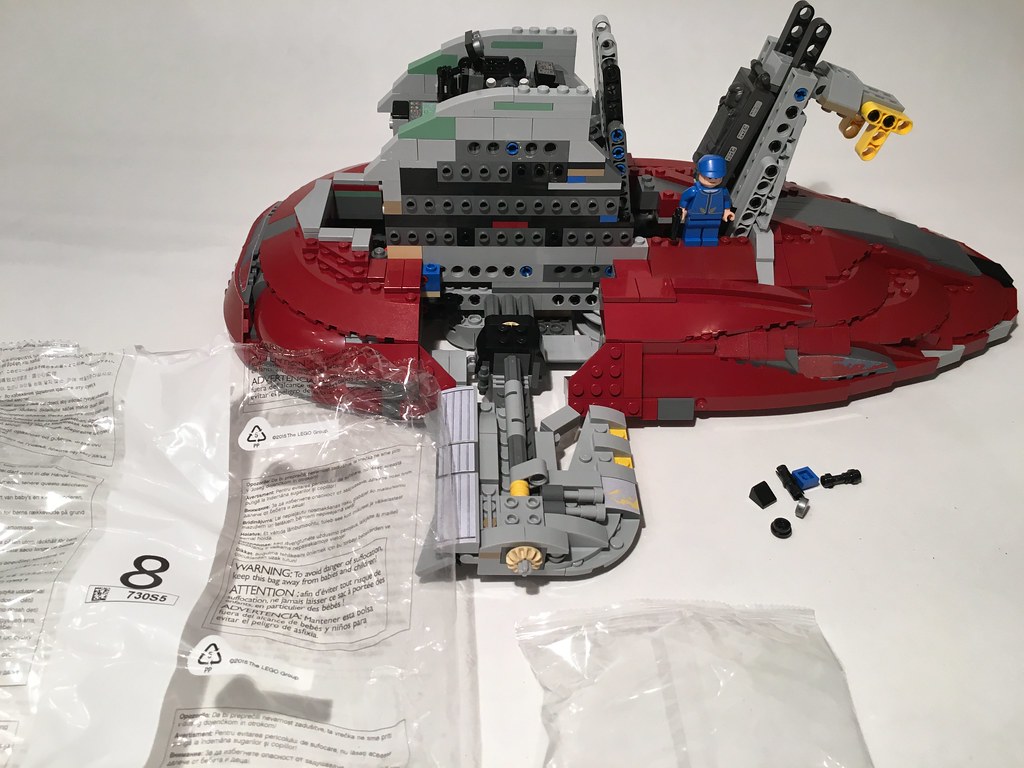
Bag 8: To summarize this part of the build: stacking up. The 'inner walls' are constructed here. Meanwhile the nicely detailed cockpit is added. Ok I'll admit, to me this build can't go wrong anymore; I'm just loving every minute of it. Even this simple 'stacking up' has its charm, as I'm constantly thinking what all the side studs are going to be used for.
Bag 9: Simply great... what can I say... you just have to build this thing yourself. My favorite part of the build so far. And what a great way to use part 4278756 (gear shifter)... at one point the designer is just showing off:
But the result is lovely:
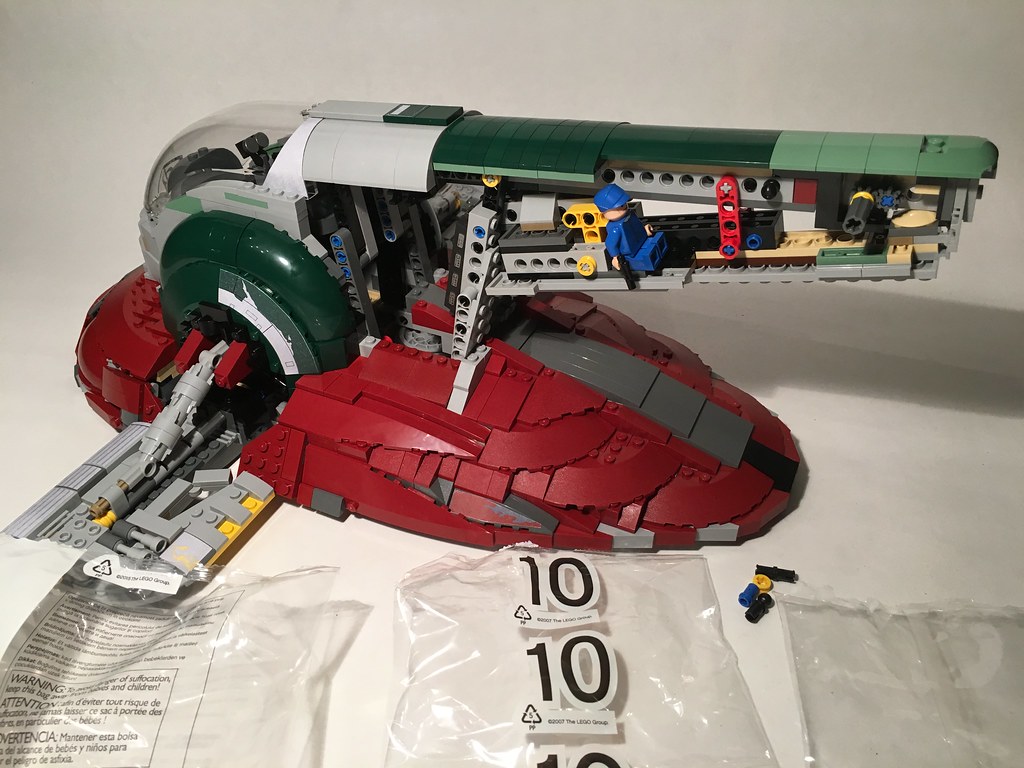
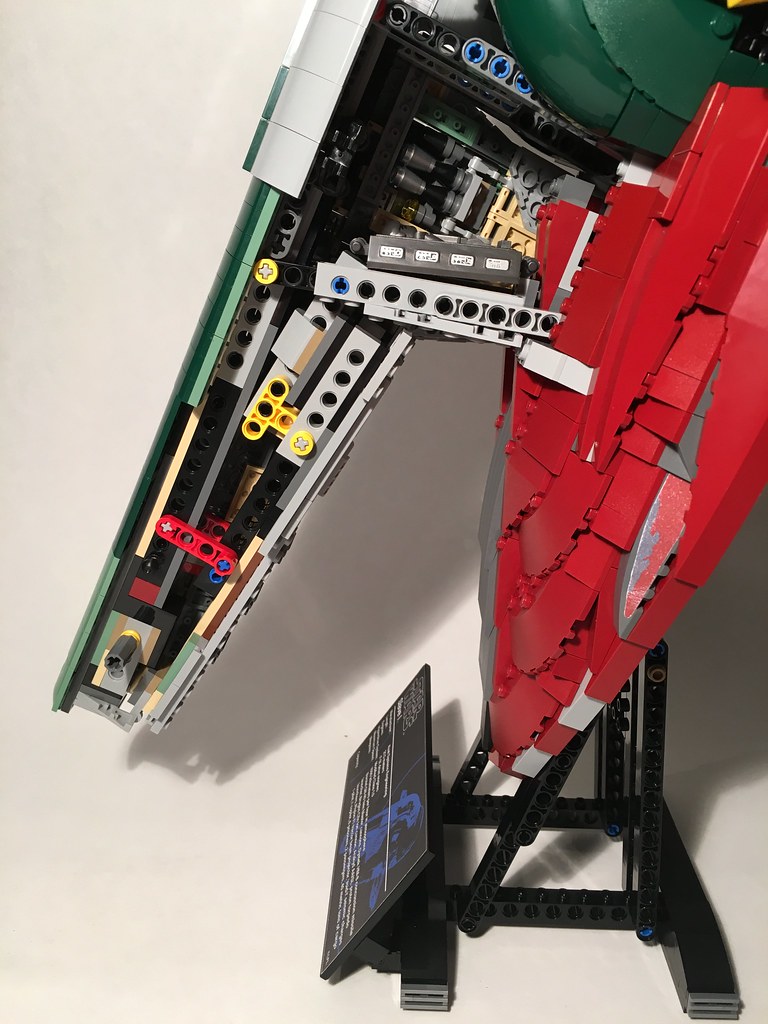
Bags 10: The 'tail' structure and the top (including canopy) of Slave I are built together. The full size is now shown, quite impressive.
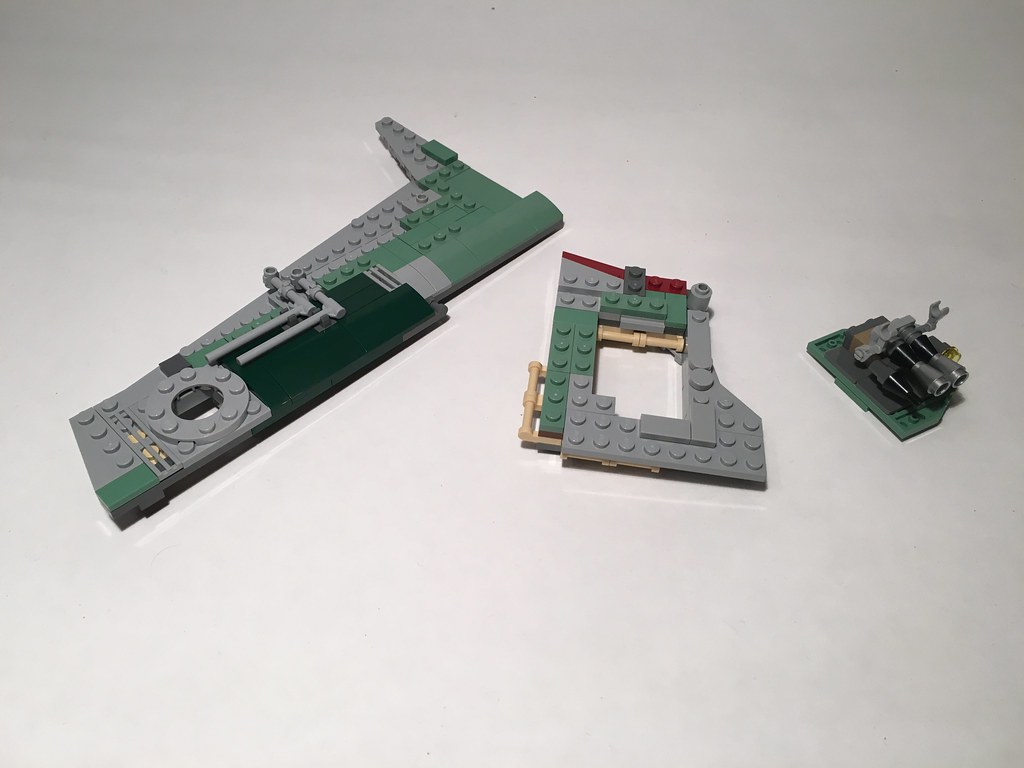
Bag 11: Port side plating is made. These are three larger subassemblies which come together at the very end.
Again, a very interesting and enjoyable build. Suddenly I realize I'm in the middle of having the best Lego build experience ever. Or not exactly in the middle... only one bag to go... unfortunately! The model is becoming very heavy by the way (1,68 kg now).
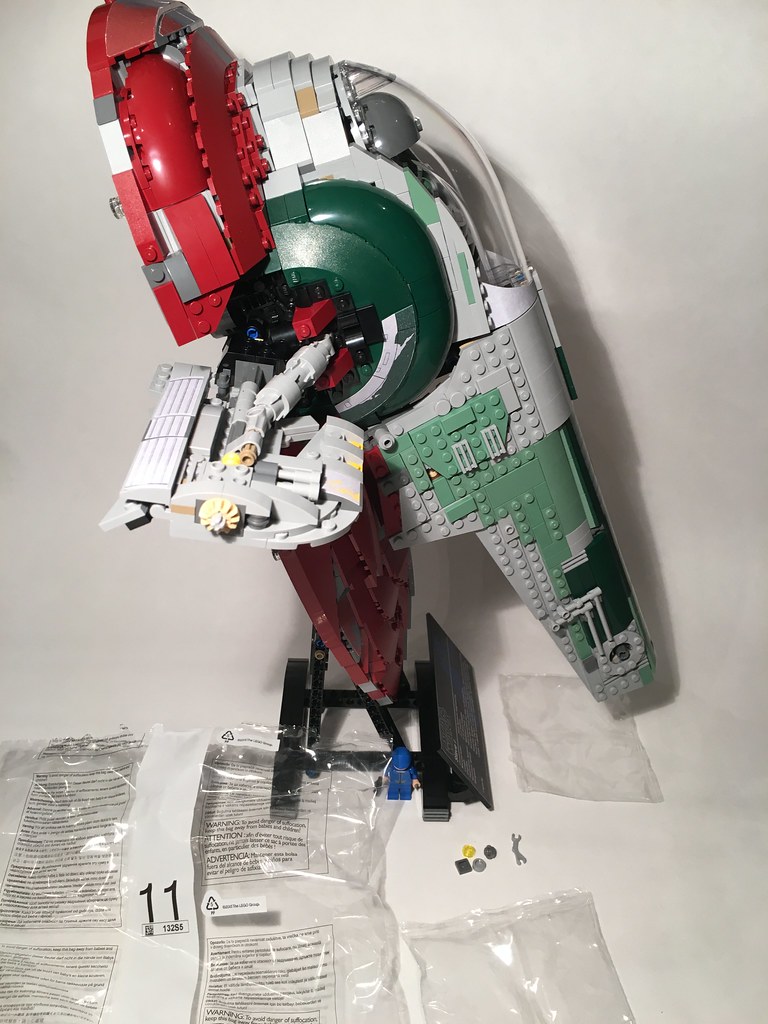
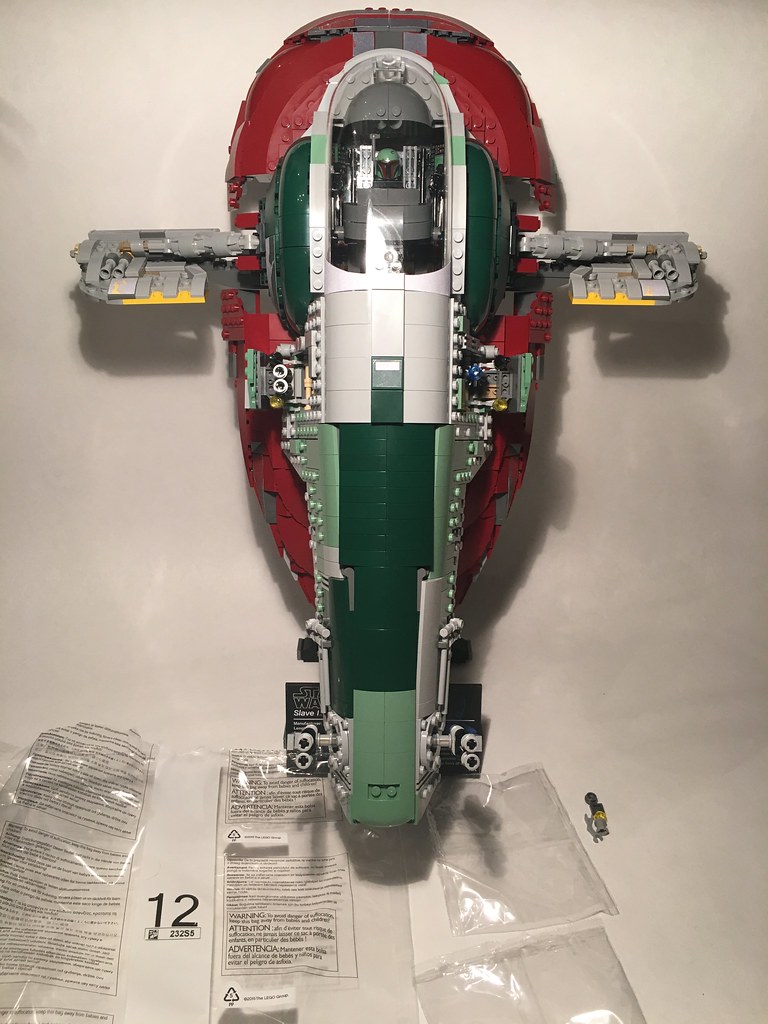
Bag 12: Starboard side plating. As both sides are not symmetrical, the fractions of repetitiveness aren't at all annoying. The build is rounded off by the weaponry in Slave 1's tail.
OPINION
THE BUILD
This experience has been a treat. A great looking Star Wars ship model has been converted into a highly realistic, fun to build, awe-inspiring Lego sculpture. If this wasn't the best build I ever experienced (including several modulars and the astounding Technic Mercedes-Benz Arocs) it is certainly in my top 3. While in my opinion this set does not have any real flaws (except perhaps the weakly manufactured sticker sheet), if the build order was amended and if there were less stickers to attend to, that would make it even better. To optimize your build experience I recommend starting with bags 11 and 13, then moving to bag 1 and from there keep to the designated build order.
THE MODEL
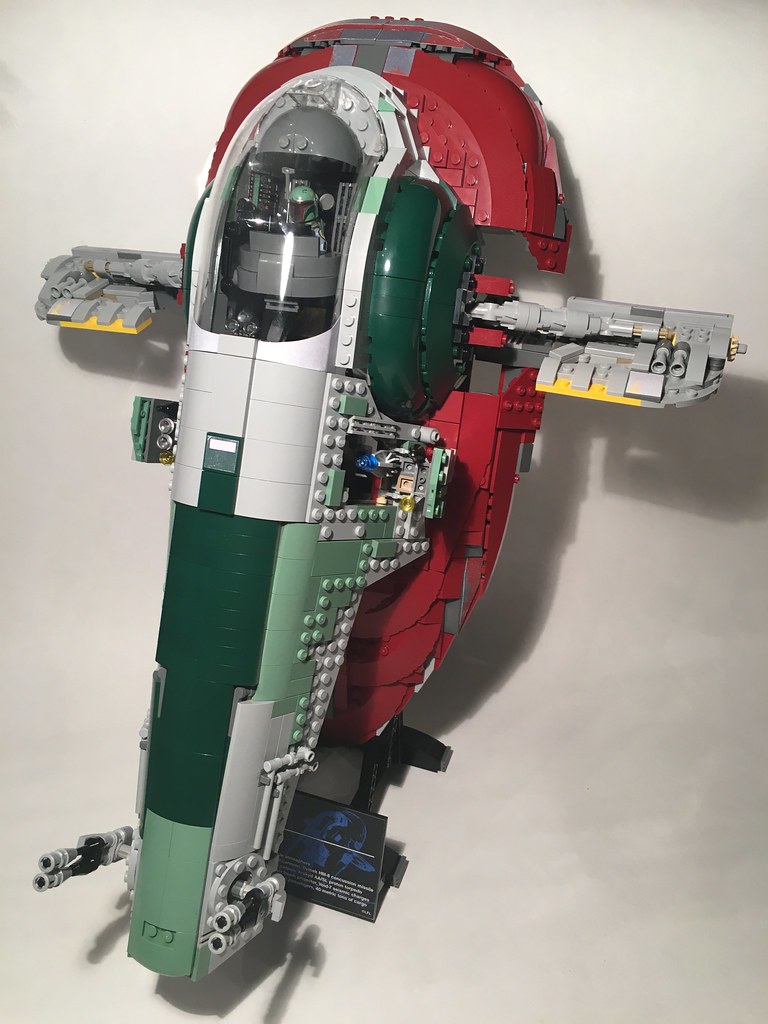
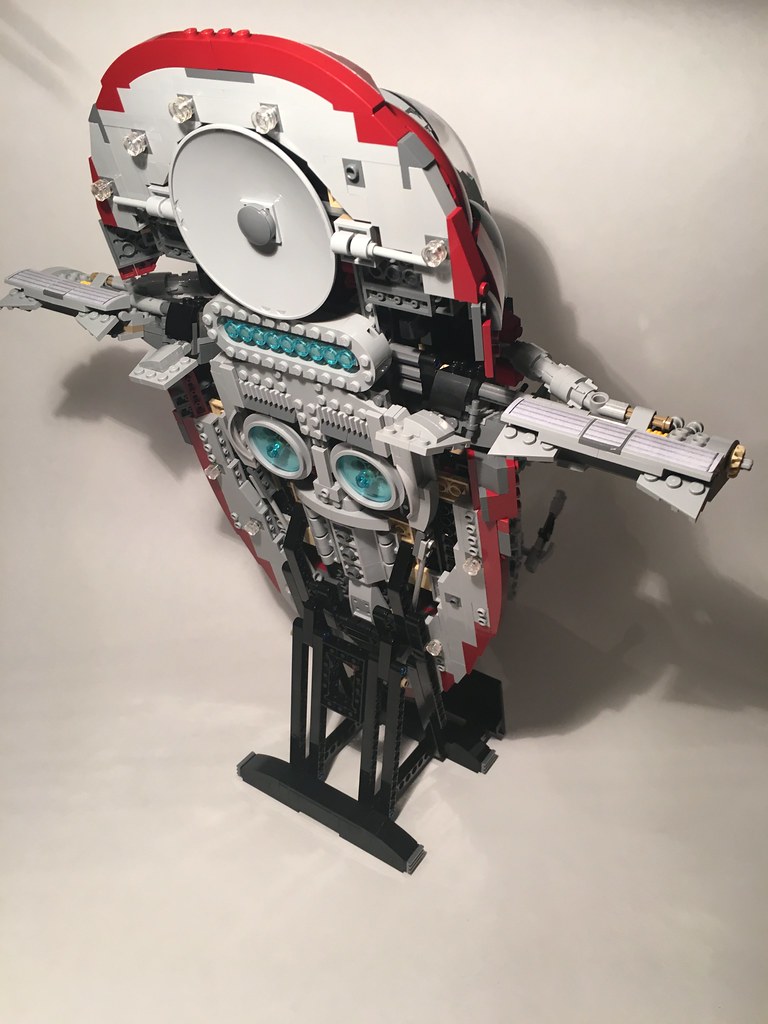
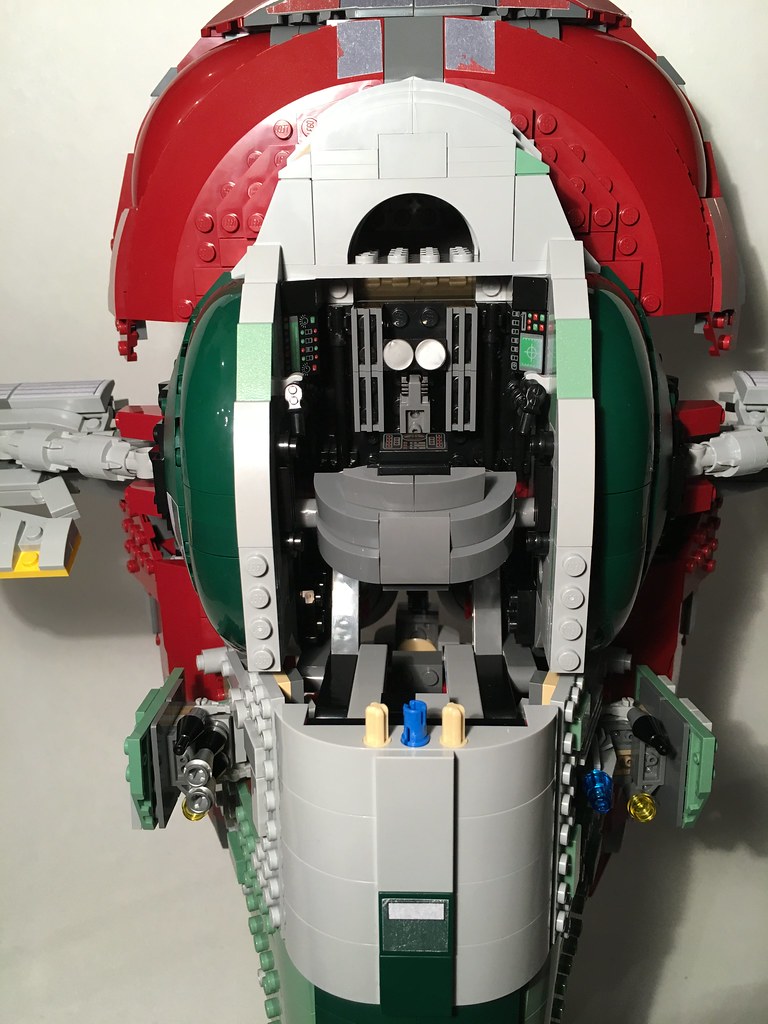
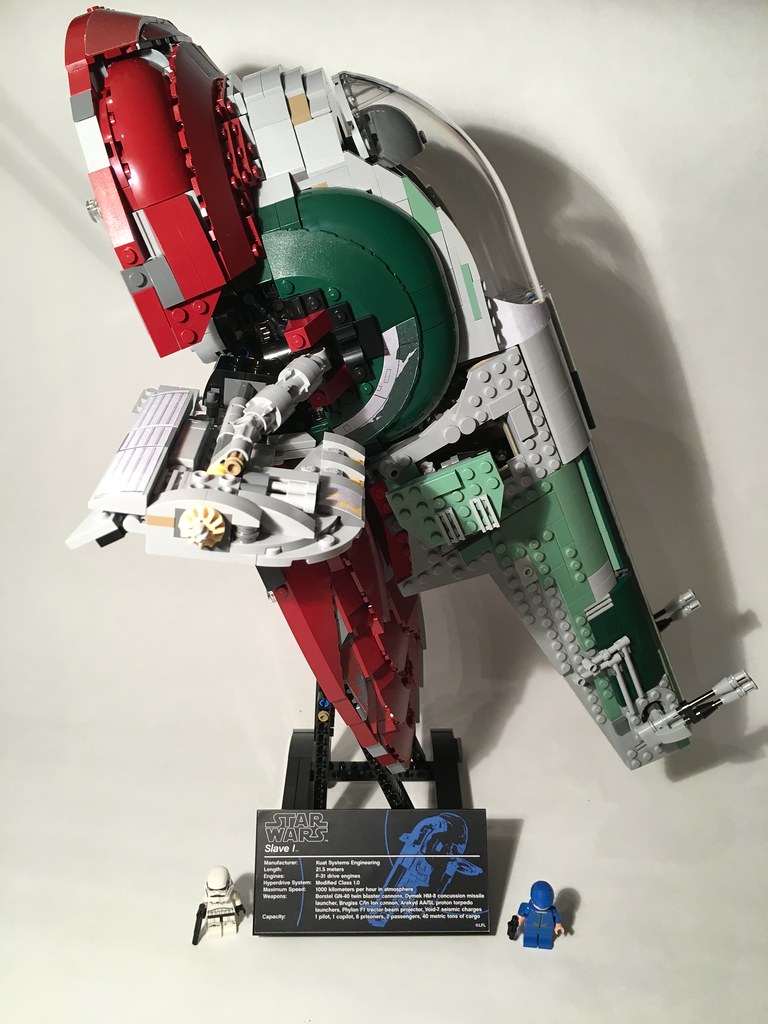
As everyone and their droid have already made clear, this model is a stunner. Have a look:

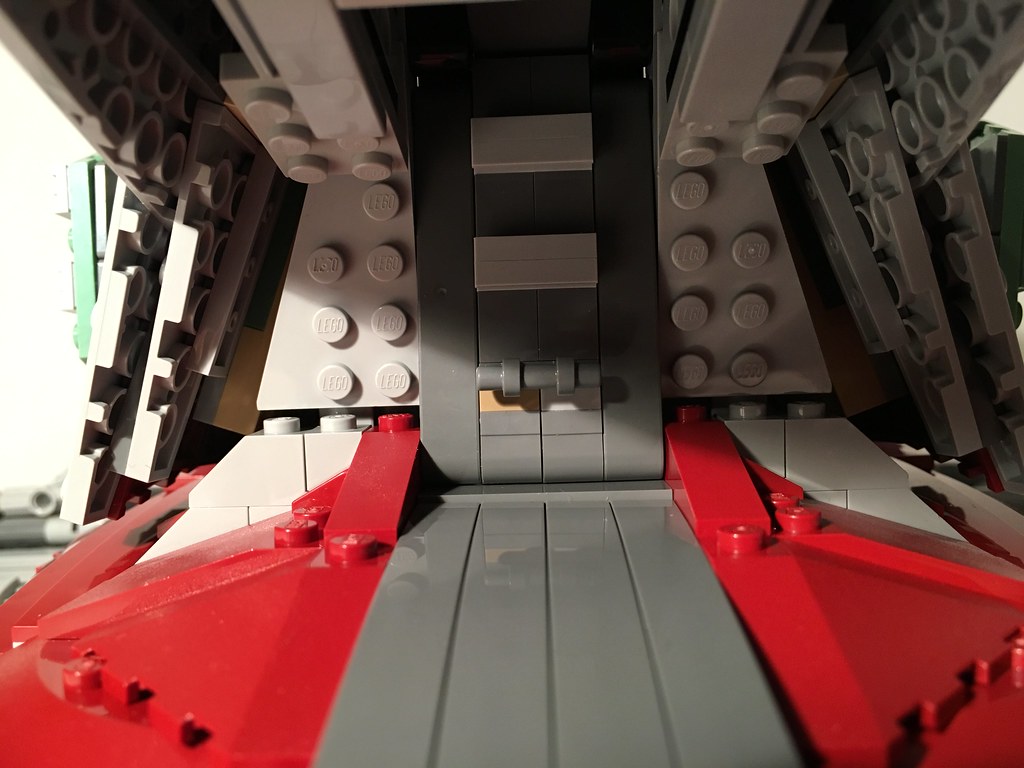
Although this is not really a playset (try playing with it for 5 minutes without breaking off something), the Slave I has some nice play-like features. The side guns are retractable, the 'cargo door' can be opened and Han Solo can be attached on its inside. If you accidentally lose grip and Han is dropped inside, you don't have to take the ship apart or shake it. There's a hidden hatch on the bottom; if you open it Han is released. Furthermore, the wings are gravitationally actuated. If built with care, the wing movements are very smooth. The tail guns are positionable, as are the wing flaps. The cockpit canopy can be detached rather easily and Boba Fett's cockpit seat can be turned to either horizontal (land mode) or vertical (flight mode) position.
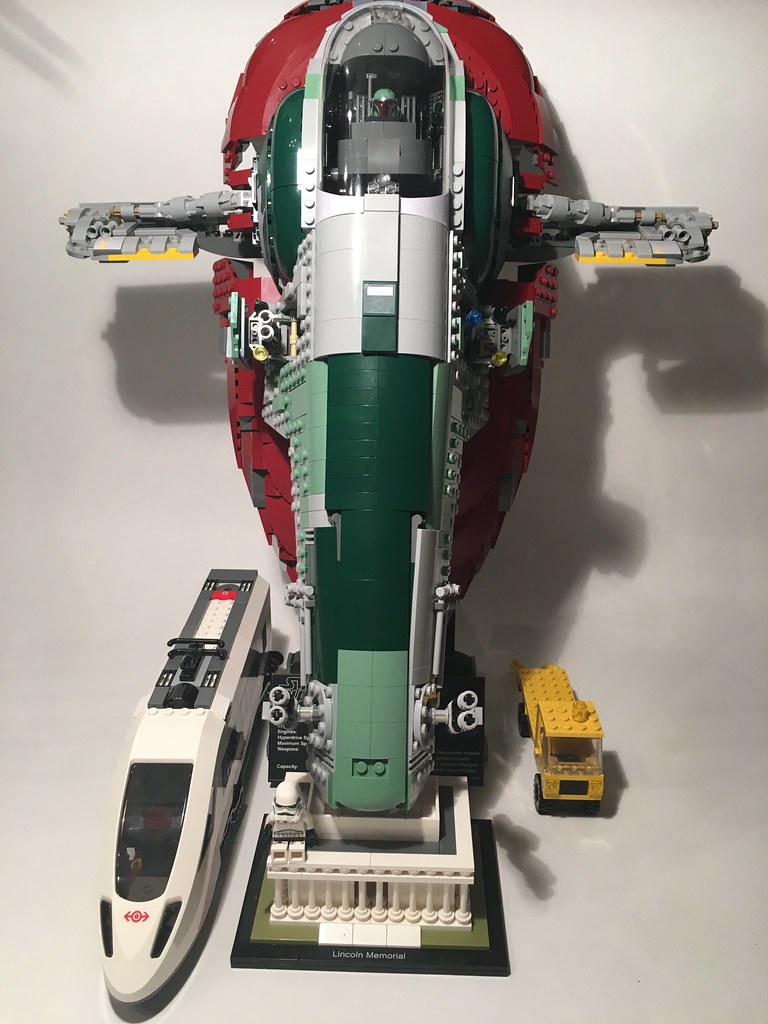
Many people have already pointed out that this set is huge. It's always a bit difficult to assess a model's size from pictures alone. To give you an impression I photographed Slave I together with a train, a classic Lego city truck and Architecture's Lincoln Memorial. The latter can easily be shoved underneath the ship if put on the stand. Both train and truck are tiny in comparison to Slave I.
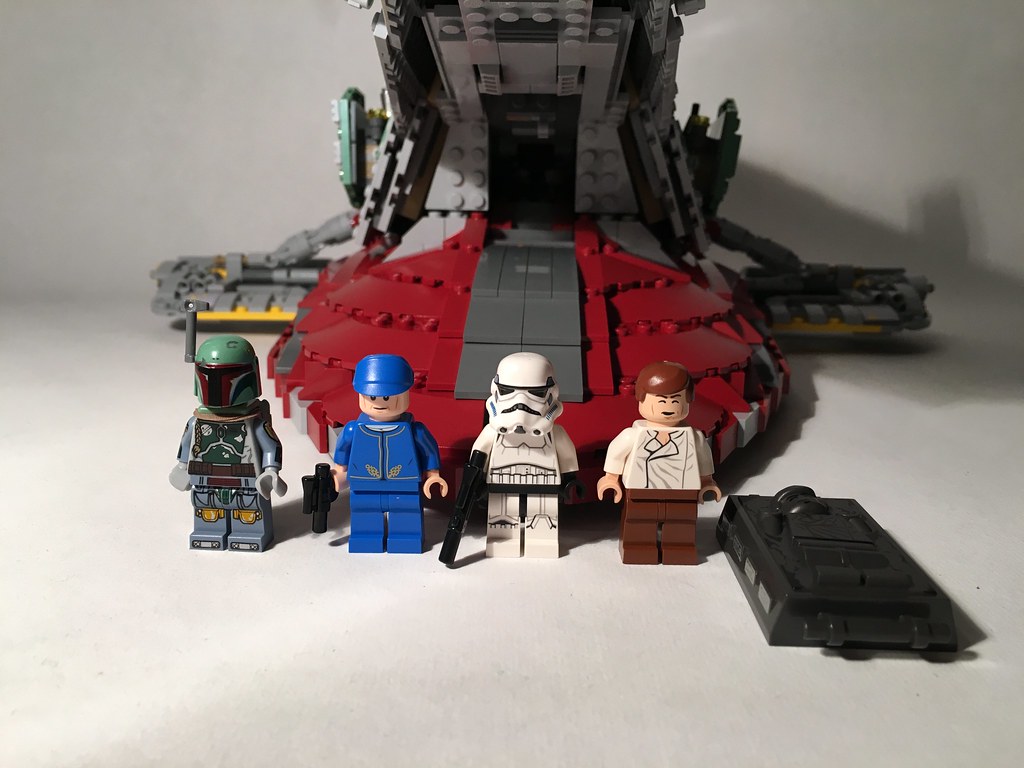
The minifigures are nicely done. Han (the only minifigure with two face prints) comes with his sleeping bag; as said Boba Fett is well detailed and there's a Bespin Guard as well as a Stormtrooper. Boba and the guard are unique to this set. Boba's two guns can be stored on clips inside the cockpit.
The stand is made in such way that the ship can be showcased either seen from the front or from the side (this is done by simply repositioning two 2x1 plates). I prefer the side view because that way the UCS information tile is better visible. Perhaps the front view is more impressive though.
PARTS VALUE
As discussed in the introduction I think this set has a good parts / price ratio. The current Bricklink part out value (incl. box and instructions) is $498.54 and there is little hope this number will ever go down. There are several special / rare parts in the set, such as:
- UNIQUE PARTS
- 4 dark green round corner bricks #95118.
- 6 dark red round corner bricks #95188.
- 2 dark red other round corner bricks #87559.
- 2 dark red yet other round corner bricks #58846.
- 1 sand green wedge 3x4x3/4 triple curved #93604.
- 2 sand green wedge plates 4x6 cut corners #32059.
- 1 transparent canopy #16477.
-
The sticker set #75060stk01.
- RARE PARTS
- 4 dark green other round corner bricks #87559 (1 other set).
- 2 dark red wedge corner slopes #43708 (1 other set).
- 4 dark red 3x3x1 slopes #4161 (2 other sets).
- 2 dark red 10x1x1 slopes #85970 (2 other sets).
- 1 light bluish grey 10x10 inverted dish #50990b (2 other sets).
- 2 dark red 4x2x1 slopes #30363 (3 other sets).
- 1 carbonite box #87561pb01 (3 other sets).
- 15 sand green curved slopes without studs #15068 (3 other sets).
- 1 dark red 8x3x2 wedge open left #43708 (4 other sets).
- 1 dark red 8x3x2 wedge open right #41749 (4 other sets).
- 6 light bluish grey round corner plates #30565 (4 other sets).
- 4 yellow liftarm pieces #60484 (4 other sets).
- 2 dark red round corner plates #30565 (5 other sets).
- 2 dark bluish grey round corner bricks #88293 (5 other sets).
- 18 dark red 4x1x1 slopes #60477 (5 other sets).
- 2 light bluish grey mudguards #62361 (5 other sets).
Probably I forgot a few. Also don't forget about what I mentioned about the minifigures. So if you are a collector and if you wanted to gather this set roaming the vaults of Bricklink in a few years from now I'd have to wish you luck. There are many unique and rare pieces around this set. Unless Lego will reuse these pieces in other sets (I don't see an extensive market for the enormous and very specific canopy part, to name an example) I think the parts value of this set will only go up. If you want this ship, buy it while it hasn't been retired.
DESIRABILITY
To me it is beyond any doubt that this set will be cherished by Lego collectors who own it, longed for by those who don't. Chances of a remake are thin I think. Would any designer dare to tackle remaking / improving a set this good? And even if it was to be remade, why not first do an updated Tie Interceptor (7181), Rebel Blockade Runner (10019), Naboo Starfighter (10026), Snowspeeder (10129), Imperial Star Destroyer (10030), Y-Wing (10134), Death Star II (10143), AT-ST (10174), Advanced Tie Fighter (10175), AT-AT (10178), Millennium Falcon (10179), Dropship / AT-OT (10195), Imperial Shuttle (10212), Obi-Wan's Starfighter (10215), Super Star Destroyer (10221) or B-Wing (10227)? My point is, so many UCS vehicles have been made during the last 15 years and Slave I was ignored until now; I don't see a swift remake coming. The only UCS-remake thus far is the X-Wing and it took Lego 13 years before it was executed. What are the chances of Lego wanting to remake an already almost perfectly modeled Slave I in 2028?
When it will retire I have no idea. Could be swiftly (on Lego Shop at Home I saw quite a few 'out of stock' / 'available' changes the last couple of weeks) or it could take some time. Rumors about Slave I featuring in the upcoming Star Wars Rogue One movie (first anthology, 2016) and even a full Star Wars movie dedicated to Boba Fett (second anthology, presumably coming out 2018) may be reason for The Lego Group to keep this set around longer. Let's just say that If I were in charge of Lego I'd find it hard to retire a set this great and relevant to a feature film even if that film will be coming out in two years from now. I see two things possibly standing in the way of late (e.g. 2018) retirement: 1) license agreement ending; and/or 2) Boba Fett movie not being effectuated. According to some sources Disney has experienced difficulties in assigning a heroic role for the villain-like character Boba Fett actually is.
In case set 75060 is retired before the Boba Fett movie comes out and if that movie will actually come out, these sets are bound to become even more desirable than they already will be otherwise.
FINAL THOUGHTS
Welcome, fast-scrolling reader, to this review! To give you the swift answer: yes the build is definitely that good. And the model looks great. Asymmetry makes it look more interesting. The finished Slave I is huge. And the box art is beautiful as well. The instructions contain interesting info and history sections. After its retirement this set will most probably become highly sought-after and its price will rise. In all, designer Hans Burkhard Schlömer did such a wonderful job that the creation of his disappointing newest model (UCS Hoth Base) is easily forgiven. Clearly as a designer you'll have to do what you can within the company's instructions and fortunately it seems that for the Slave I project Mr Burkhard Schlömer had carte blanche. I'll keep my conclusion simple. This set is a must-have for any Lego fan and any Star Wars fan. Get it while you can!
Find it here on Amazon.
-
 13
13




Recommended Comments
Join the conversation
You can post now and register later. If you have an account, sign in now to post with your account.
Note: Your post will require moderator approval before it will be visible.